Rope Instructions
Not sure how to size or replace your cable? Below you’ll find quick videos and simple infographics that walk you through sizing your jump rope and replacing cables with ease - so you can spend less time guessing and more time training.

Sizing Instructions

Replacing Your Cable
Step-by-step Instructions

Tools Needed
Hex Wrench (included) and Cable Cutters

Step 01
Determine the ideal length for you

Step 02
Cut excess rope with cable cutters

Step 03
Pull cable flush with exterior and hold in place

Step 04
Tighten firmly!
Tools Needed
Hex Wrench (included) and Cable Cutters
Step 01
Determine the ideal length for you
Step 02
Cut excess rope with cable cutters
Step 03
Pull cable flush with exterior and hold in place
Step 04
Tighten firmly!
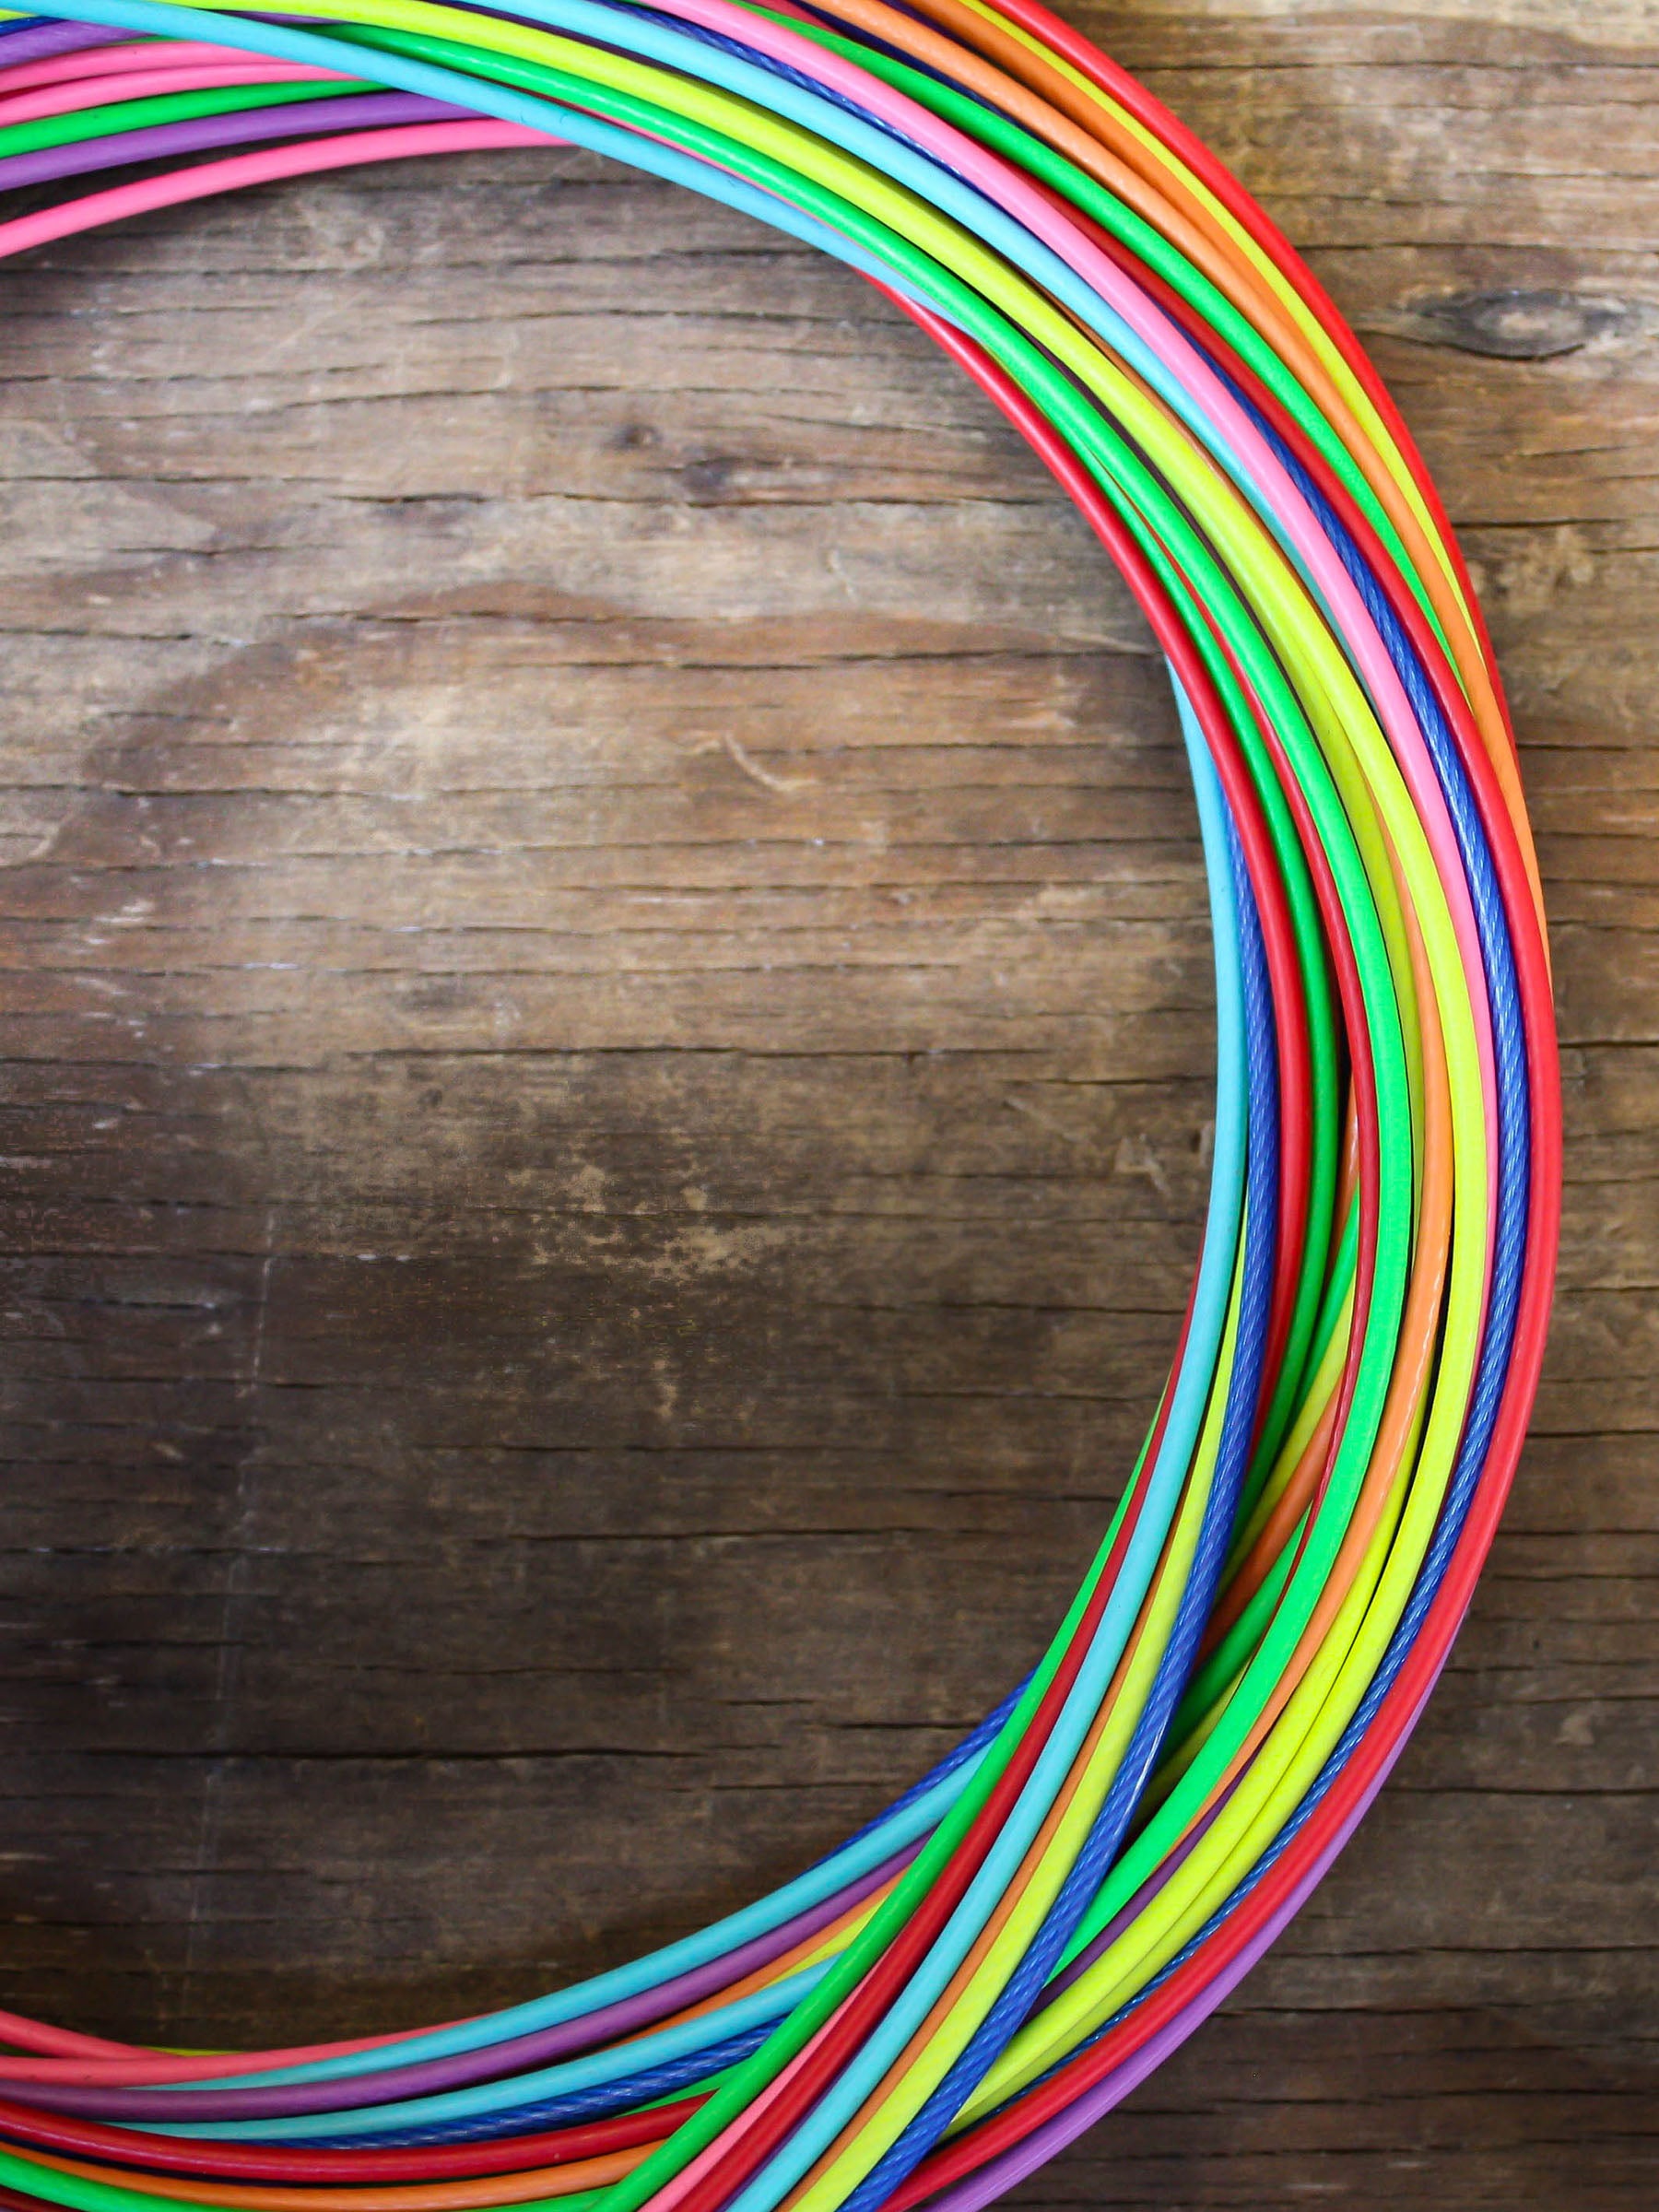
Frayed cable? No worries!
Don't even sweat it! ...your rope is NOT broken! Our handles hold all the magic and technology and are virtually indestructible. The cables, while crazy fast, will need to be replaced occasionally.
If the end of the cable is frayed on the initial cut then the set screw will not hold the cable in place and the cable will not last! We also recommend threading your cable all the way through to the other end of the head so it is flush. Leaving a "tail" out of the other side is not recommended as it can cause extra stress on the cable.